
Flowers
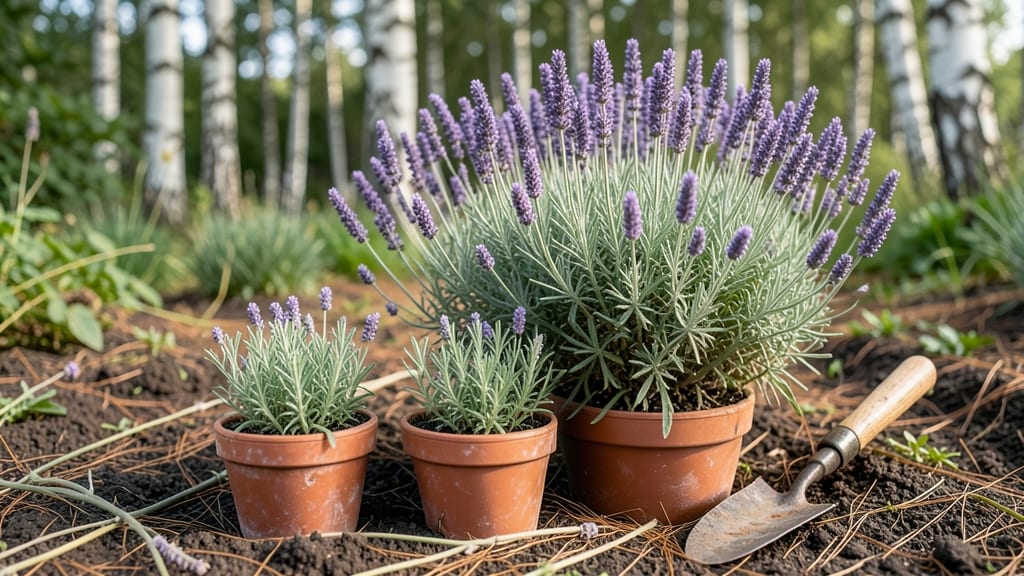
Creating a new flower bed starts with soil that actually supports growth—not just dirt you shovel from the yard. 🌱 I learned the hard way that compacted clay or sandy soil leaves plants struggling, no matter how pretty the seeds.
The secret is building layers that hold moisture, drain well, and feed roots from day one, which is exactly what transforms a patch of ground into a thriving display.
You’ll need basic supplies: a shovel, compost, aged manure or organic fertilizer, and some mulch to lock in moisture. Skip the fancy tools—just focus on loosening the soil at least 12 inches deep and mixing in organic matter.
This prep takes 2-3 hours for a 4x8-foot bed, but it’s the foundation for everything that follows. The payoff? Plants that establish faster, bloom bigger, and survive droughts like they’re in a greenhouse.
What you end up with is a bed where every plant thrives—not just survives. Imagine velvety foliage and clusters of blooms that last from spring through fall, with minimal fuss. The key is choosing perennials for structure, annuals for color bursts, and ground covers to fill gaps.
Seasonal swaps keep the show going year-round, and the layered soil means you’ll spend less time watering and more time admiring.
This method works for any size bed, from a small border to a full backyard renovation. Whether you’re filling a sunlit patch or a shady corner, the principles stay the same. Let’s get that soil ready—your future flower bed starts with a single shovel full.
📚 In This Guide
- What you need
- Instructions
- Tips and common mistakes
- Wrapping up and next steps
What you need
- ● Soil: Topsoil – at least 4–6 inches deep (1 cubic yard per 100 sq. ft.)
- ● Compost – 2–3 inches (1 cubic yard per 50 sq. ft.)
- ○ Organic matter (e.g., leaf mold, peat moss, or coconut coir) – 1–2 inches (optional but recommended)
- ● Mulch: Shredded bark, pine straw, or straw – 2–3 inches (1 bag per 10 sq. ft.)
- ● Plants: Choose 3–5 types of flowers (perennials, annuals, or shrubs) based on sunlight and climate needs.
- ● Tools: Garden shovel or spade
- ● Garden fork (for aerating soil)
- ● Wheelbarrow (for hauling soil)
- ● Measuring tape or string (to mark boundaries)
- ● Gloves (for protection)
- ● Watering can or hose with a gentle spray nozzle
- ● Soil amendments: Slow-release fertilizer (e.g., 10-10-10) or bone meal for phosphorus.
- ● Edging tools: Metal or plastic edging to define the flower bed neatly.
- ● Ground cover: Creeping thyme, clover, or moss for weed suppression.
- ● Drip irrigation system: For consistent watering (especially in hot climates).
- ● Knee pads: Because gardening is way more comfortable with these! 😉
Step-by-Step instructions for designing a thriving flower bed
Here’s how to build a flower bed that stays healthy and blooms year after year.
🪴 Step 1: Mark and Prepare the Flower Bed Layout
Use a garden hose or spray paint to outline your 4-foot-wide flower bed (adjust for your space). This keeps edges neat and prevents soil from spreading into lawns or pathways. I like to sketch a simple design first—think about sun exposure and plant groupings. For example, place sun-loving perennials on the south side and shade-tolerant plants on the north.
Once marked, remove grass or weeds within the outline using a spade or edging tool. Work in 2-inch-deep strips to avoid straining your back. If the area has grass, lay down cardboard or landscape fabric to smother it before adding soil—this prevents regrowth and saves time later.
🌱 Step 2: Build Soil Layers for Optimal Drainage and Nutrition
Start with a 2-inch layer of coarse sand or gravel at the bottom to improve drainage, especially if your soil drains poorly. This prevents root rot and keeps plants healthy. Next, add a 3-inch layer of compost—this feeds your plants slowly and improves soil structure. I mix in a 1-inch layer of perlite or vermiculite to aerate the soil further.
Top it off with 4-6 inches of high-quality garden soil, blending it with the existing topsoil if needed. The goal is loose, fertile soil that holds moisture without becoming waterlogged. Press down lightly to remove air pockets, but don’t compact it—roots need space to grow.
☀️ Step 3: Choose and Plant Flowers for Season-Long Color
Select plants based on your light conditions—full sun (6+ hours), partial shade (3-6 hours), or full shade (<3 hours). For a 4-foot bed, I recommend spacing plants 12-18 inches apart to allow airflow and prevent disease. Start with 3-5 anchor plants (like daylilies or coneflowers) for structure, then fill gaps with annuals or perennials for color variety.
Dig holes twice as wide as the root ball and just as deep. Gently remove plants from their containers, loosen roots if they’re circling, and place them in the holes. Backfill with soil, firming it lightly around the base. Water deeply to settle the soil and eliminate air pockets. Mulch with 2-3 inches of shredded bark or straw to retain moisture and suppress weeds.
💧 Step 4: Water and Maintain for Long-Term Success
Water the bed deeply for the first week to encourage root growth. Aim for 1 inch of water per week, either from rainfall or irrigation. Use a soaker hose or drip system to deliver water slowly at the base—this prevents runoff and keeps leaves dry, reducing fungal diseases. Check soil moisture by sticking your finger 2 inches deep; if it’s dry, water again.
After planting, avoid heavy foot traffic for at least 2-3 weeks to let roots establish. Fertilize lightly 4-6 weeks later with a balanced, slow-release fertilizer (like 10-10-10) to support growth. Deadhead spent blooms regularly to encourage more flowers and keep the bed looking tidy.
Tips & tricks for perfect flower bed design
These practical tricks will help you create a thriving flower bed that stays vibrant and healthy for years to come.
Design First, Dig Later: Before breaking ground, sketch your flower bed layout on paper. This helps visualize plant groupings and sun exposure patterns. I always mark north-south orientation on my sketch—it’s crucial for placing sun-loving plants correctly. The 4-foot width mentioned in Step 1 provides perfect proportions for most garden tools and plant spacing needs.
Soil Layering Secrets: When building your soil layers in Step 2, don't skip the 1-inch perlite layer—it's the unsung hero of drainage and aeration. I've seen flower beds fail when this step is rushed. For clay-heavy soils, consider doubling the coarse sand layer to 4 inches. The 3-inch compost layer should be well-aged compost; fresh compost can burn young plants.
Plant Spacing Precision: The 12-18 inch spacing in Step 3 might seem generous, but it's essential for airflow and preventing disease. I measure from the center of one plant to the center of the next—this creates a consistent pattern. For larger anchor plants like daylilies, you can space them up to 24 inches apart while keeping smaller perennials at 12 inches. This creates visual balance while maintaining proper airflow.
Watering Wisdom: That first week of deep watering in Step 4 is critical—it establishes roots before they have to compete with surface evaporation. I set a timer for 20 minutes every other day during the first week to ensure consistent moisture. The 2-inch deep soil check is your best indicator of when to water; if it feels dry at that depth, it's time to water again.
Pro Tips for Create A New Flower Bed
- These practical tricks will help you create a thriving flower bed that stays vibrant and healthy for years to come.
- Design First, Dig Later: Before breaking ground, sketch your flower bed layout on paper.
- Soil Layering Secrets: When building your soil layers in Step 2, don't skip the 1-inch perlite layer—it's the unsung hero of drainage and aeration.
Frequently asked questions
Got questions about crafting your dream flower bed? You’re not alone! Here are answers to the most common queries—so you can dig in with confidence.
What’s the best time of year to start a new flower bed?
The ideal window is early spring or fall when soil is workable but not frozen. Spring lets you beat summer heat, while fall gives roots time to establish before winter. Avoid planting in peak summer or deep winter unless you’re in a mild climate. Pro tip: If you must plant in summer, water deeply and mulch to retain moisture!
Can I create a flower bed on a budget?
Skip pricey topsoil by using compost, leaves, or grass clippings for organic matter. Raid your yard for rocks or mulch, and propagate plants from cuttings or local swaps. Even dollar-store pots work for seedlings. Bonus: Native plants cost less and thrive with minimal care.
How do I keep weeds and pests out of my new flower bed?
Start with a thick layer of cardboard or landscape fabric under mulch to smother weeds. Use organic mulch (like wood chips) to deter pests and retain moisture. For stubborn weeds, hand-pull them early or apply vinegar spray (mix 1 gallon vinegar + 1 cup salt). Prevention tip: Healthy soil = fewer pests—prioritize balanced layers!
Do I need to till the soil before planting?
Not always! Lightly loosen the top 6–12 inches of soil to improve drainage, but avoid over-tilling, which can disrupt soil structure. For clay-heavy soil, amend with compost or sand. If your soil is already loose (like sandy loam), a simple fork aeration may suffice. Test first: Grab a handful—if it crumbles easily, you’re good to go!
What if my flower bed looks patchy or uneven after planting?
Patchiness often means uneven soil layers or spacing issues. Rake the surface gently to smooth mulch, and fill low spots with amended soil. For gaps between plants, add ground cover (like creeping thyme) or fill with seasonal annuals. Remember: Plants will fill in over time—patience is key!
Can I reuse soil from my old garden for the new bed?
Only if the old soil is healthy and disease-free. Avoid soil from areas with fungal issues or compacted clay. Instead, mix old soil with fresh compost (50/50) to revitalize it. For contaminated soil, start fresh with store-bought or homemade compost. Safety check: Look for pests or mold before repurposing!
Still stumped? Drop your question in the comments—we’re happy to help your flower bed flourish!
Wrapping up and next steps
Creating a stunning new flower bed is all about layered soil prep, smart plant choices, and a little patience—just like nurturing a favorite plant! 🌱 You’ve got the tools, the know-how, and the vision to turn your space into a vibrant garden oasis.
Now, grab those gardening gloves and watch your hard work bloom into a thriving, low-maintenance paradise.
Ready to take the next step? Start small—pick one corner of your yard, test your soil, and experiment with a few plants. Once you’ve mastered the basics, expand your garden like a pro! 🌸 Need inspiration? Browse seasonal plant guides or sketch your dream layout before digging in.