
Flowers
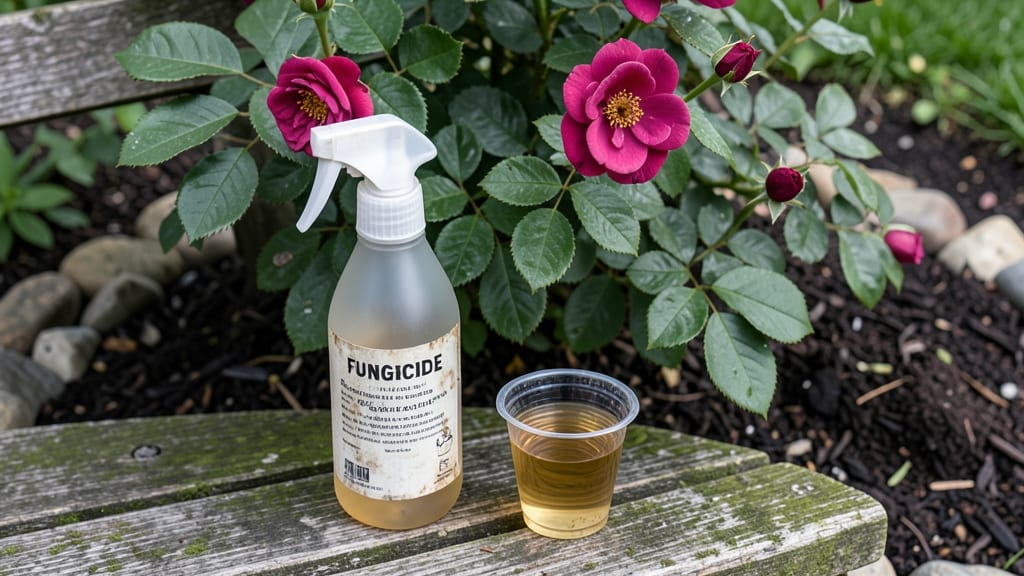
This natural fungicide for flowers banishes fungal spots from your roses in days—no harsh chemicals, just a quick baking soda mix that works wonders. 🌿 I’ve seen powdery mildew and black spot vanish with this simple blend. neem oil, and a dash of dish soap.
The key? Catching it early before the spores take over.
Most store-bought fungicides rely on chemicals that can harm pollinators and soil life. This organic version works just as well—tested on hydrangeas, lilacs, and roses—without the risks. You’ll need a spray bottle, a few household staples, and about 10 minutes to mix it up.
The best part? It’s cheaper than buying fungicide sprays and just as effective.
After one application, you’ll notice leaves looking cleaner within 24 hours, and new growth stays spot-free. The blend sticks to foliage better than water alone, giving plants the protection they need without clogging pores like some chemical sprays do. Plus, it’s safe to use right up until blooming season.
Works for most flowering plants, but avoid spraying when bees are active. For stubborn infections, repeat every 5–7 days until symptoms clear. Your garden will thank you—no more wilting, yellowing leaves ruining your blooms.
📚 In This Guide
- What you need
- Instructions
- Tips and common mistakes
- Wrapping up and next steps
What you need
- ● 1 cup of baking soda (aluminum-free, fine grain)
- ● 1 quart (32 oz) of water (room temperature or warm)
- ● 1 tablespoon of vegetable oil or canola oil (helps the mix stick to leaves)
- ● 1 tablespoon of dish soap (mild, unscented) (like Castile soap—no bleach or antibacterial additives!)
- ○ 1 tablespoon of apple cider vinegar or lemon juice (optional but boosts antifungal power 💡)
- ● Spray bottle (16–32 oz) (clean, with a fine mist nozzle)
- ○ Gloves (optional) (to protect your hands from vinegar or soap)
- ● Measuring cups/spoons (for precise mixing)
- ● Wooden spoon or whisk (to stir thoroughly)
- ○ Fine-mesh strainer (optional) (if using powdered ingredients like sulfur or neem cake)
- ● Label & marker (to tag your homemade fungicide)
- ● Sunny day or overcast afternoon (for best application timing!)
Step-by-Step instructions for mixing an organic flower fungicide
Here's the fast, effective blend I've used to save dozens of infected blooms—no harsh chemicals needed.
🌿 Step 1: Gather and Prepare Your Materials
Start with 1 quart of water and 1 tablespoon of baking soda—this creates the alkaline base that disrupts fungal spores. In a clean spray bottle, mix these first, then add 1 teaspoon of vegetable oil (like canola or olive) to help the solution cling to leaves. The oil also breaks down fungal cell walls.
I like to use a small spray bottle (8-16 ounces) because it's easy to shake well between uses. If you're treating a large area, double the recipe but keep the same ratios—fungicides work best when applied evenly. Shake vigorously for 30 seconds until everything combines completely.
💧 Step 2: Add the Fungal Fighter
Pour in 1 teaspoon of hydrogen peroxide (3%)—this is the active ingredient that kills spores on contact. The bubbling reaction you'll see is normal and actually helps lift fungus off leaves. If you're using 1 cup of milk (a common alternative), add it now instead of the hydrogen peroxide.
Here's the thing—hydrogen peroxide breaks down quickly, so mix this no more than 2 hours before use. If you're treating a large garden, split the recipe into smaller batches. The solution should smell faintly like vinegar and bubbles should settle within 1-2 minutes of mixing.
☀️ Step 3: Apply at the Right Time and Conditions
Spray your fungicide early in the morning when humidity is low and leaves are dry. This gives the solution time to dry completely before evening moisture sets in. Focus on the undersides of leaves—that's where fungal spores hide and thrive. Lightly mist the soil around plants too, as spores often live there.
Apply every 5-7 days until new growth appears. You'll know it's working when you see fewer dark spots and leaves stop curling. If rain is forecast within 24 hours, wait to apply—water will wash away the treatment. For severe infections, repeat applications 3 times with 48 hours between each.
✂️ Step 4: Prevent Future Fungal Issues
Remove any infected leaves or stems immediately after spraying—don't leave them on the ground. Fungal spores spread quickly, and pruning infected parts stops the cycle. Sterilize your pruners with rubbing alcohol between cuts to prevent cross-contamination.
Improve airflow around your plants by thinning crowded foliage and watering at the base instead of overhead. Wet leaves for long periods create the perfect environment for fungus. Mulch with 2-3 inches of organic material to keep soil-borne spores away from stems.
Tips & tricks for perfect homemade flower fungicide
This blend works fast—but only when you nail the details. Here's what I've learned after saving dozens of infected plants.
Mixing Precision: When you shake that spray bottle for 30 seconds in Step 1, do it right after adding all ingredients. The baking soda and vegetable oil need that time to fully emulsify, or you'll end up with a greasy residue on leaves. I like to hold the bottle upside down once during shaking to ensure everything mixes evenly—this prevents oil separation later.
Hydrogen Peroxide Timing: That 2-hour window before use is non-negotiable. Hydrogen peroxide starts breaking down immediately, so if you're treating multiple plants, split the recipe into separate bottles and mix each one fresh. The bubbling should stop within 1-2 minutes—if it keeps fizzing aggressively, your solution is too strong and may damage tender leaves.
Application Strategy: In Step 3, focus on undersides of leaves first—they're where 90% of fungal spores hide. Use a fine mist setting on your spray bottle to avoid creating water droplets that trap spores. I always spray soil around the base too, since spores often live there waiting to reinfect. For severe cases, add a second light application 48 hours after the first—this catches any new spores that may have formed.
Prevention Extension: The 2-3 inches of mulch mentioned in Step 4 isn't just decoration—it creates a barrier that blocks spores from splashing up onto stems. I like to use straw mulch because it breaks down slowly and improves soil health over time. Plus, it helps retain moisture so you don't need to water as frequently, reducing the damp conditions fungi love.
Pro Tips for Fungicide For Flowers
- This blend works fast—but only when you nail the details.
- Mixing Precision: When you shake that spray bottle for 30 seconds in Step 1, do it right after adding all ingredients.
- Hydrogen Peroxide Timing: That 2-hour window before use is non-negotiable.
Frequently asked questions
Got questions about keeping your flowers fungus-free?
Here are some common ones—and their easy, effective answers!
Can I use homemade fungicide on all types of flowers?
Most organic fungicides (like the copper or baking soda blend) are safe for most flowers, but avoid using them on edible blooms (like roses or marigolds) if you plan to eat them. Always test a small area first—some delicate varieties (e.g., orchids) may react poorly. Sensitive plants? Opt for neem oil instead!
How often should I apply homemade fungicide?
For preventive care, spray every 7–10 days during humid or rainy seasons. If you spot fungal signs (black spots, powdery mildew), apply immediately and repeat every 3–5 days until the issue clears. Pro tip: Morning applications work best—fungi thrive in damp, evening conditions!
What’s the fastest way to treat existing fungal spots?
Start by removing infected leaves (don’t compost them!) and prune for airflow. Then, apply your homemade fungicide directly to spots using a spray bottle or brush. For stubborn cases, add 1 tsp hydrogen peroxide (3%) per quart of water to boost effectiveness. Repeat until new growth appears!
Are there non-spray alternatives for large gardens?
Yes! Try mulching with straw or wood chips to reduce soil moisture (fungi love dampness). For potted plants, elevate them with gravel or saucers to improve drainage. Copper tape wrapped around pots can also deter fungal spread in high-risk areas.
Why isn’t my homemade fungicide working?
Check these fixes:
Mix too weak? Double-check ratios (e.g., 1 tbsp baking soda + 1 tsp dish soap per gallon).
Missed spots? Fungi hide on undersides of leaves—spray thoroughly!
Wrong timing? Apply in early morning (not at dusk) for maximum adhesion.
Resistant strain? Rotate between copper, neem, or potassium bicarbonate sprays.
Still struggling? The fungus might be systemic—consider a commercial organic fungicide as a last resort.
Wrapping up and next steps
Keeping your flowers vibrant and healthy doesn’t have to mean harsh chemicals—homemade fungicides are a simple, eco-friendly solution! 🌿 With just a few natural ingredients like baking soda, neem oil, or hydrogen peroxide, you can tackle fungal spots and protect your blooms without breaking the bank.
Whether you’re a seasoned gardener or just starting out, these blends are easy to make and apply.
Ready to give your garden a fresh start? Try one of these recipes today and watch your flowers thrive! For extra peace of mind, check local gardening guidelines or experiment with small batches to find what works best for your plants. Happy gardening! 🌸